Plastic paver stabilization grids are an increasingly popular solution for ground reinforcement, load distribution, and permeable surface construction. They are widely used in driveways, parking lots, fire lanes, access roads, and landscaping projects, offering excellent load-bearing performance while maintaining natural drainage.
However, the long-term performance of a plastic paver grid system depends heavily on proper installation. Incorrect base preparation or infill selection can significantly reduce service life and load capacity. This guide explains the plastic paver stabilization grid installation process in a clear, step-by-step manner, following proven civil engineering and landscaping best practices.
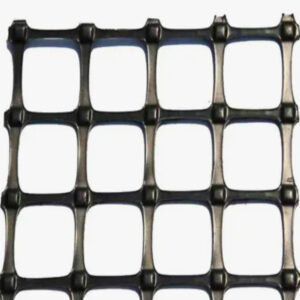
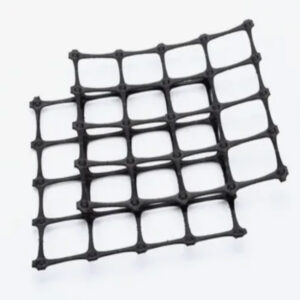
1️⃣ What Are Plastic Paver Stabilization Grids?
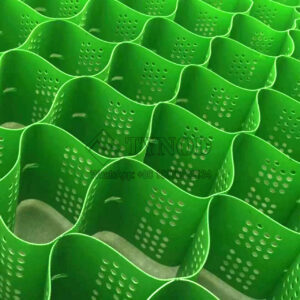
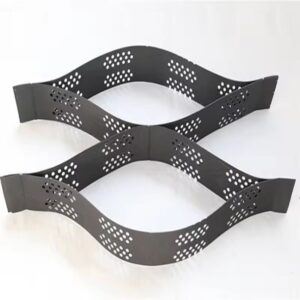
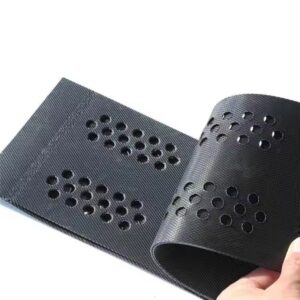
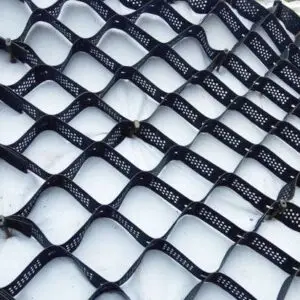
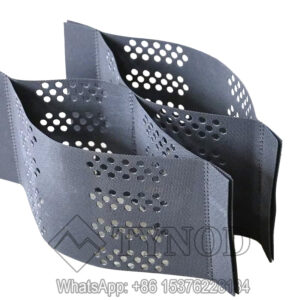
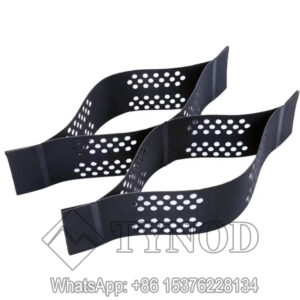
Plastic paver stabilization grids are modular, interlocking panels typically manufactured from HDPE or PP. When filled with gravel, sand, or soil and grass, they create a reinforced load-bearing surface.
Key functions include:
- Distributing loads to the subgrade
- Preventing rutting and surface deformation
- Allowing water infiltration and drainage
- Supporting green and permeable pavements
Because they rely on a composite structure (grid + infill + base), correct installation is critical.
2️⃣ Pre-Installation Planning Considerations
Before starting installation, evaluate the following factors:
📌 Intended Load
- Pedestrian or light traffic
- Passenger vehicles
- Heavy vehicles (fire trucks, service vehicles)
Higher loads require thicker base layers and stronger subgrade compaction.
📌 Soil Conditions
- Clay soils require better drainage layers
- Sandy soils require improved compaction
- Weak subgrades may need geotextile separation
📌 Drainage Requirements
Plastic paver systems are permeable, but the base must allow water to infiltrate or drain laterally.
3️⃣ Step-by-Step Plastic Paver Stabilization Grid Installation
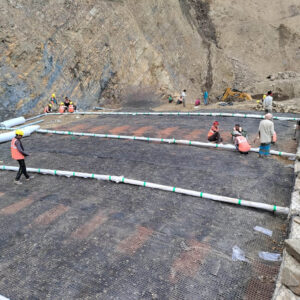
Step 1: Site Excavation
Excavate the installation area to the required depth, accounting for:
- Paver grid thickness
- Infill depth
- Base layer thickness
Typical excavation depths:
- Light traffic: 200–300 mm
- Vehicle traffic: 300–450 mm
Ensure a uniform excavation with proper slope (1–2%) if surface drainage is required.
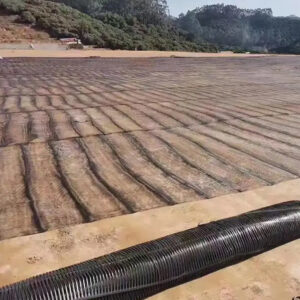
Step 2: Subgrade Preparation and Compaction
The subgrade is the foundation of the system.
✔ Remove organic material and soft spots
✔ Moisten soil if needed
✔ Compact subgrade to at least 95% Proctor density
For weak or fine-grained soils, install a non-woven geotextile to:
- Separate soil from base aggregate
- Prevent pumping and contamination
- Improve long-term stability
Step 3: Base Layer Construction
Install a crushed stone base layer (typically well-graded aggregate).
Recommended base thickness:
- Pedestrian areas: 100–150 mm
- Driveways / parking: 150–300 mm
✔ Spread aggregate in layers
✔ Compact each layer thoroughly
✔ Ensure a level and stable surface
The base layer is critical for load distribution in plastic paver stabilization grid installation.
Step 4: Bedding Layer Installation
Install a bedding layer (usually 20–40 mm thick) using:
- Crushed sand
- Fine gravel (2–5 mm)
This layer:
- Provides leveling
- Allows grids to sit evenly
- Improves interlock with the base
Do not compact the bedding layer before grid placement.
Step 5: Plastic Paver Grid Placement
✔ Lay grids starting from one corner
✔ Interlock panels securely
✔ Ensure grids sit flat with no rocking
✔ Cut grids as needed using a saw for edges
Maintain tight connections to ensure uniform load transfer across the surface.
Step 6: Infill Material Selection and Filling
The infill material determines the surface function.
Common Infill Options:
- Crushed gravel (driveways, parking lots)
- Sand (light traffic areas)
- Topsoil + grass seed (green pavements)
✔ Fill grids gradually
✔ Spread infill evenly
✔ Ensure cells are fully filled
Step 7: Compaction and Final Topping
✔ Lightly compact infill using a plate compactor
✔ Avoid damaging grid structure
✔ Add additional infill to compensate for settlement
For gravel-filled systems, a thin surface topping improves aesthetics and traction.
4️⃣ Installation for Grass-Filled Plastic Paver Grids
For green surfaces:
✔ Use high-quality topsoil
✔ Mix grass seed evenly
✔ Water immediately after installation
✔ Restrict traffic until grass is fully established
Grass roots will grow through the grid, forming a reinforced vegetated surface.

5️⃣ Common Installation Mistakes to Avoid
❌ Insufficient subgrade compaction
❌ Inadequate base thickness for vehicle loads
❌ Using rounded gravel instead of crushed aggregate
❌ Leaving grid cells partially empty
❌ Allowing traffic before infill stabilization
Avoiding these mistakes ensures long-term performance.
6️⃣ Performance Benefits of Proper Installation
Correct plastic paver stabilization grid installation delivers:
✔ High load-bearing capacity
✔ Excellent resistance to rutting
✔ Permeable, drainage-friendly surface
✔ Reduced maintenance costs
✔ Environmentally sustainable pavement
7️⃣ Typical Applications
Plastic paver stabilization grids are commonly installed in:
- Residential driveways
- Parking areas and overflow lots
- Fire access roads
- Golf cart paths
- Emergency access lanes
- Landscape and green infrastructure projects
8️⃣ Maintenance Recommendations
- Inspect annually for surface settlement
- Refill infill where needed
- Control vegetation growth if gravel-filled
- Avoid excessive turning by heavy vehicles
Minimal maintenance is required when installation is done correctly.
9️⃣ Cost vs Long-Term Value
While initial installation costs may be slightly higher than traditional gravel surfaces, plastic paver grids offer:
✔ Longer service life
✔ Reduced surface deformation
✔ Lower maintenance frequency
✔ Improved aesthetics and drainage
This makes them a cost-effective solution over the project lifecycle.
🔟 Conclusion
Proper plastic paver stabilization grid installation is essential to achieve structural stability, permeability, and durability. By following a systematic process — from subgrade preparation to final infill compaction — you can ensure reliable performance for both light and heavy traffic applications.
Key takeaways:
- Base preparation is critical
- Infill selection matters
- Compaction must be controlled
- Traffic should be restricted until stabilization
When installed correctly, plastic paver stabilization grids provide a durable, sustainable, and versatile ground reinforcement solution.